I had this huge bulky type bulletin board that my mom gave me when she was cleaning out storage. I took it and used it for awhile in my office. It's just so huge and kind of ugly like most bulletin boards are right?
I used momentarily to put my necklaces up in my closet. After awhile that didn't work either. It's such a short closet. I had to fight through my clothes just to get to the board and it kept falling over. So I had to think of a new plan.
I was just going to sell it ......
But then I found an awesome easy idea on Pinterest. Pinterest of course is still a God-send. It makes it a one-stop place of all ideas and inspiration so you don't have to spend hours on the internet searching for ideas. Instead you just spend hours on pinterest :)
Why not cover your ugly bulletin board with decorative fabric to match your office theme or the rest of your home decor. It was such an easy and inexpensive project. {well easier if I had a better staple gun}. Here's where you can find more detailed instructions. http://www.markovadesign.com

What you'll need:
Fabric: {Depending on the size board. I just got 1 yd of quilting fabric and that was just enough @ $5.99
Staple Gun/Staples: {Husband got the Ace brand for home projects. It would've been better with a heavy duty one to get through the wood frame} $16-$20 with the staples }
Bulletin board: {obviously, one with a frame and whatever size}
Upholstery tacks: {whatever style you want. I got black smooth ones @ $1.99 for 24 get plenty of these to get around the whole board}
Hanging Brackets
Measure 3" of fabric on each side

Staple along each side {since I had a bad staple gun I used a hammer too} Leave the corners open

Fold corners in like a present and then staple them too

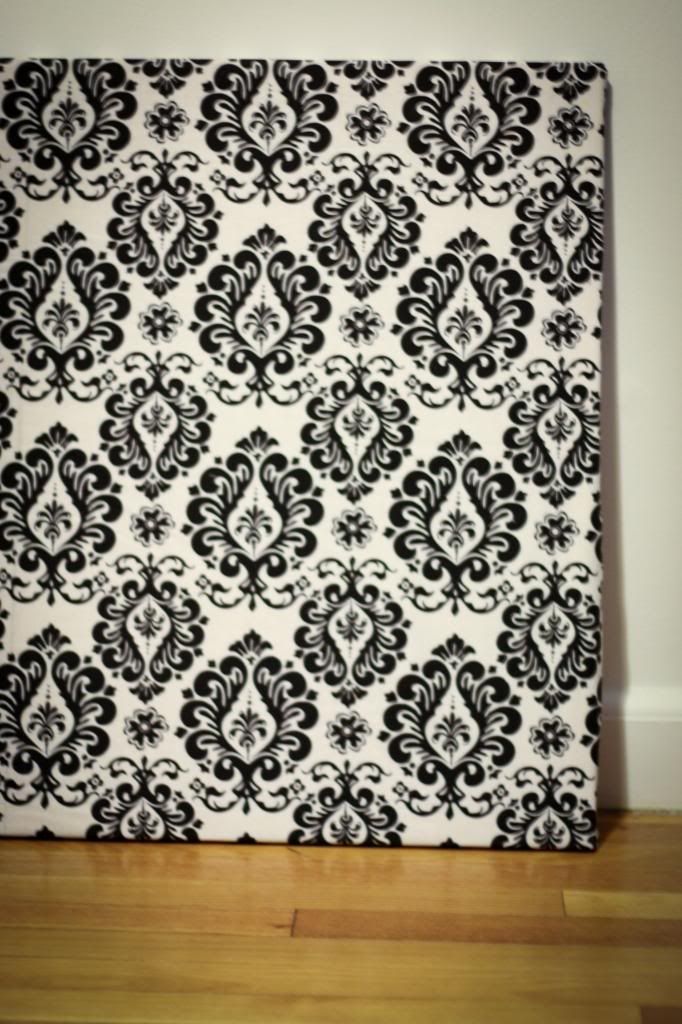
Finished covered bulletin board
Place the tacks 1" apart or however you like. Keep them evenly placed along the edge of board.


Again make sure you get plenty of the tacks to go all the way around your board.
There you go! Done in just a few steps. My office is slowly coming together!
Happy Friday Everyone
That is so cute! Great job!
ReplyDeleteThank you Shannon!
Deletelove that fabric!
ReplyDeleteThank you Meg! I'm in love with that print
Delete