Tuesday, November 12, 2013

{DIY} upcycle Chair part 1

It has taken me sooooo long to finish this chair. I think I bought it a year ago maybe ? It's hard when you get picky about how you want it to look. I got it for $10 at the local Salvation Army. I was looking for a new desk chair and I really loved the idea of redoing one myself. That way I could have more control over what it looked like. It would also save me a lot of money too. I searched and searched for the ideal fabric print that I wanted. I kept getting stuck because there wasn't a lot of local options that I could see in person. I finally went took the long trip to Hobby Lobby and found this gorgeous written script fabric. The vision was created in my head so I slowly got to work. I can't even tell you how long it took to get all these steps done. But it was spread out over the entire year so I'm sure you get the idea.

 I slowly accumulated my supplies. I researched everywhere on the best way to do the seat cushion. That was another set back. I want to make sure I am doing it the best and fastest way too. I am not a patient person, not even a little bit. I finally found one blog that just stapled their fabric over the existing. {since it was still in ok condition and didn't smell bad} That was pretty simply actually.t After I unscrewed the bottom of the cushion to separate it from the chair. I just laid the fabric on the floor and placed the cushion over and followed along with the previous fabric and stapled away.


Next I got my tools to give the chair a good sanding. I sat and thought a good long time on if I should just get the primer that you don't need to sand with. Putting yet another halt on the project. There were some scratches and dings so I just went ahead and sanded it down with a medium then a fine grit reusable sanding pad from ACE.
I had leftover gray basic primer from my desk redo so I just went with that. No need to spend more money.


Then came the color choice! I originally wanted to do it black so it would match. But if you know me well. You know everything I have is black. And I didn't like the idea of white with the fabric I chose. It wasn't until my hubby suggested maybe I should go with red that my mind started reeling with the possibilities. I started envisioning a bright red chair. Then I googled it a little bit. Some people went with a bold, bright red. But I wanted a little more subtle..something a little more romantic. So literally yesterday I finally decided on a shade of red to paint the chair! YAY!


Also, I picked up this tool to make it easier to do spray paint. I thought about doing it with a brush but I really didn't want the brush strokes. Also, chairs are kinda hard to paint lots of little crevices, nooks and crannys.. So I decided on spray paint. I went with this burgundy red. In the sun it looks bright but not too bright. Which makes it the perfect shade. It's called Satin Burgundy by KRYLON. It took about 1 1/2 cans of paint to get the desired shade and cover it all.
I still need to put a little finish on it. But I love how it turned out! 


 Before & After


Share:

Friday, November 8, 2013

{Fashion Friday} Military Wife

Last summery type outfit I promise. I know everyone is in full fall/winter mode. So I'm on it! I'm getting all my favorite cold weather outfits to share with all of you. I've been accumulating a lot of scarves lately too! It's already soo cold now and I know it's just going to get worse. I wasn't prepared very much last winter so I am making sure I am this time around! 

I've also started selling some of my closet and I'm really excited about that!!! If you like a few of the items that I've posted feel free to shop my closet at poshmark.com

Have an awesome weekend!


Shop My Outfit

boots: Target.com

Share:

Monday, November 4, 2013

Halloween {recap} DIY Circus Costume

It was a cold and dreary day quite fitting and normal for a New England Halloween. I'm just glad we didn't 'have another hurricane! {A.K.A. Hurricane Sandy}. Also making for some flat hair after I worked so hard on it :(  BOO! 
I had been working on this costume idea for a few years and it finally happened! I really wanted to do a Vintage Circus Lion Tamer and Lion with Riley. Whether I was the lion or she was either way it was cute! She wanted to be a ballerina though. Soooo I searched and searched for one that a costume that would make her happy and maybe resembled a tight rope walker and we had it all planned out. Then one day we randomly went into a store and found a cute lion costume, she tried it on and loved it! Score! My vision was now coming to a reality! I didn't want to spend too much so I just used clothes I already had for my costume. She loved it! It really is way more fun dressing up with kids, they make it more exciting!


I used a similar method. Just a ponytail and not braids


DIY Lion Tamer Costume:
Striped Blazer: Forever21.com
Red peplum top: Agacistore.com
Faux Leather Leggings: Charlotterusse.com
Black Riding Boots: Forever21.com

Add some accessories 
Top Hat
Whip

VOILA! 


She's got an awesome ROAR!


Teaching my Lion some tricks


Share:

Friday, October 25, 2013

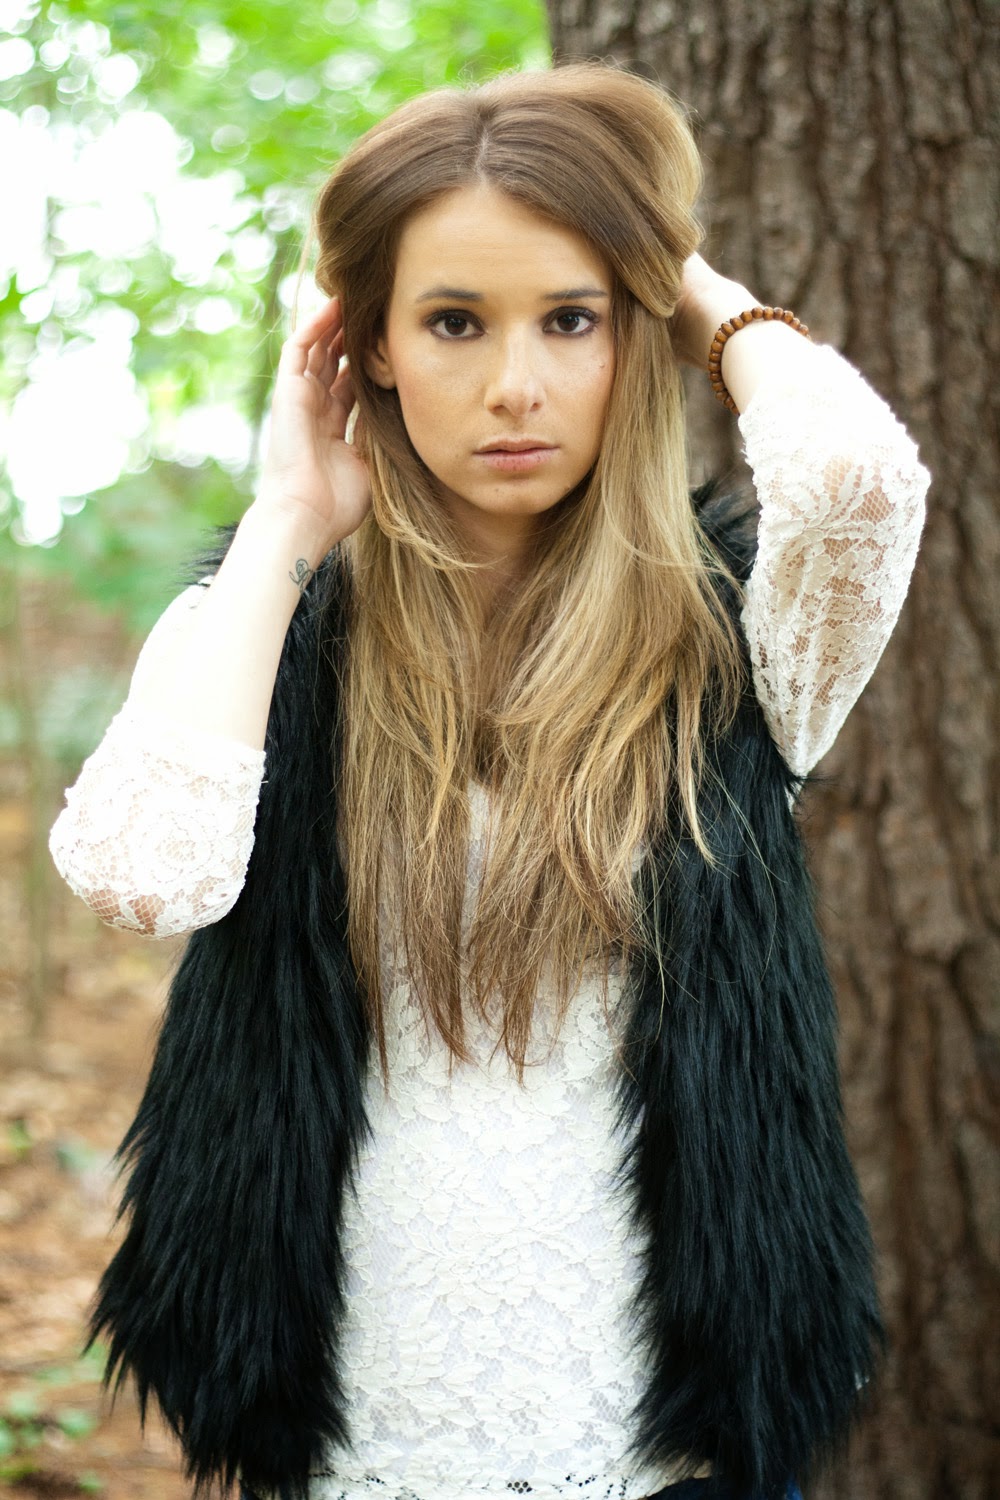
{Fashion Friday} Boho Lace

It's been awhile since we did one these! I did this before it got cold. I'm sure you can tell. Oh well just add some tights and you are ready for the cold weather. Gotta love versatile outfits!


All Photos taken by Jenny Courtney Photography


Shop My Outfit:

Shorts, Necklace,Vest: Wetseal.com
Bracelets: Stylesforless.com

Share:

Wednesday, October 23, 2013

I'm a Model?..... {High Fashion Photo Shoot}

If you follow me on instagram {@meadowsandreeds} you may remember a month or so ago I was asked to do a high fashion photo shoot with a fellow photographer {Kathleen Clipper Photography. I jumped at the chance. High fashion is such a passion of mine! We went to Sticks and Stones farm 
in Newtown, CT. That was the literally only the second time I've had my makeup done for me. Definitely the first time I had both hair and makeup done at the same time. It was a fun experience. Everyone was just so awesome to work with. The location was so gorgeous, straight out of a movie! Here are some behind the scenes and some of my favorite shots from the shoot!


Hair: Jesslyn MacDonald of Salon Pure
Makeup: Sarah Giggar of Giggar Makeup Artistry
Photography: Kathleen Clipper of Kathleen Clipper Photography

Share:
Blogger Template Created by pipdig